

Mounting and connecting a solar panel for a camper van.
Installing a solar generator for a camper van allows you to produce your own energy independently for multimedia, water pumping, or in case of battery failure, restarting the vehicle.
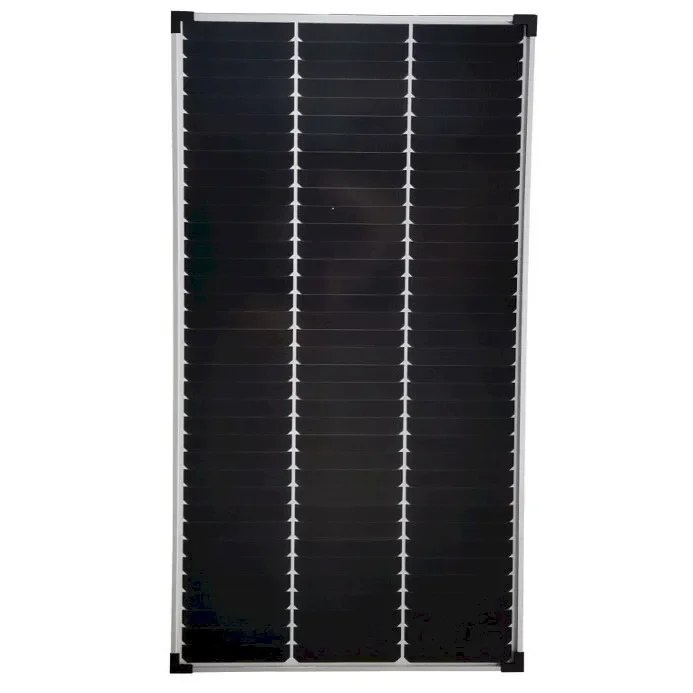
In this installation, the solar kit consists of a photovoltaic solar panel, a solar regulator, and a mounting system. This autonomous electric generator recharges an auxiliary battery already present in the camper van.
Step-by-step installation of the solar kit
DRY FITTING THE SOLAR PANEL
Cleaning the surface and positioning the solar panel and mounting brackets on the roof of the camper van to check the arrangement of the elements.
DRILLING THE ROOF OF THE CAMPER VAN
After determining the location of the solar panel, the roof of the camper van is drilled to connect the panel to the solar regulator that manages the battery charge.

GLUING THE SPOILERS
A special polyurethane resin-based adhesive available here is used to glue the spoilers (mounting brackets) onto the roof of the camper van.

GLUING THE CABLE PASSAGE
The roof gland is glued onto the roof to cover the drilling hole and ensure perfect waterproofing. A cable is run between the roof and the cabin.

CONNECTING THE SOLAR PANEL
Before being fixed, the solar panel is connected to the electrical cable.

FIXING THE PHOTOVOLTAIC SOLAR PANEL
The solar panel is placed between the spoilers and directly fixed (stainless steel screws).

CONNECTING THE SOLAR REGULATOR
The solar regulator, which manages the battery charge, is installed in the cabin and connected to the solar panel.

END OF INSTALLATION: THE PANEL IS READY TO PRODUCE ELECTRICITY
The solar panel will be able to recharge an auxiliary battery completely independently to power multimedia devices (computer, phone, music) and a water pump (shower, kitchen). In case of failure or significant discharge of the main battery, this auxiliary battery can also be used as a backup to start the camper van.