

Solar installation for isolated site
If the standard photovoltaic solar kits offered do not exactly meet your situation, you will be able to design your own autonomous solar kit for an isolated site based on your actual needs, which will allow you to optimize the use of your installation and make significant savings by only paying for the essentials.
Our calculation model is designed and economically competitive for installations with a need greater than 250W, below which we recommend choosing the standard kits available for boats and motorhomes that will also adapt to your needs on isolated sites.
Now for the sizing and choice of your installation, let yourself be guided!
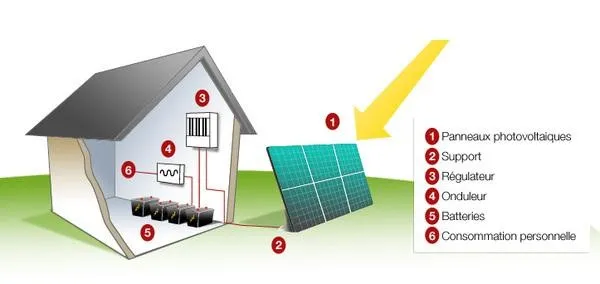
1) Choice of solar panel(s):
a) Calculate your estimated daily consumption:
The calculation logic is to take the nominal power (W) of your electrical devices and then multiply them by the number of hours (h) of use per day (Wh/d) and sum them up. You can also use our 'daily consumption table' to help you.

b) Depending on your location in France and the season, divide this daily power (in Wh/d) by the corresponding coefficient below, thus obtaining the necessary power of your solar panel in (W).

If you need to use it over several seasons, choose the coefficient of the one that will be the least sunny.

Let's now take an example:
During the Spring/Summer season, you want to power in your vacation home located in the north of France:
a 60W television running 3 hours a day
a fridge consuming 500W per day
some lighting for a total of 100W running 2 hours a day
Calculation of daily consumption: 60×3 + 500 + 100×2 = 880 Wh/d
Calculation of necessary power: 880 / 2 = 440W
(*) Important advice: It is advisable to always oversize a solar installation by 15 to 20% to compensate for uncertainties due to clouds, shadows, electrical loss, etc...
In our example: 440 x 1.15 (15% oversizing) = 506W
To determine the number of solar panels (X), simply start, for example, with a 90W panel and find the rounded multiplier to the next whole number (example: 506 W = 6 x 90W panels).
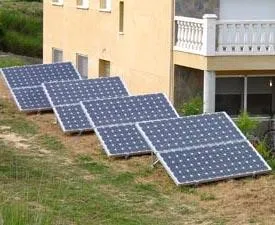
Solar panels can be mounted in parallel without any particular problem, in this case their power adds up.
The powers announced by manufacturers are conventionally calculated based on a level of sunlight on a flat horizontal surface of 1000 W/m². In reality, the useful power of the panel depends on the sunlight and its orientation.
2) Choice of support:
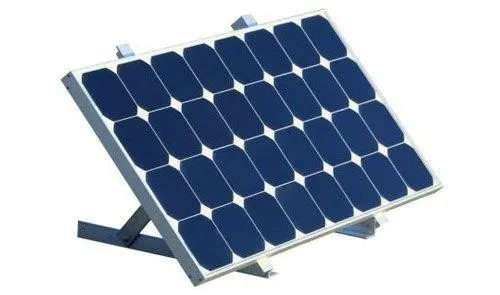
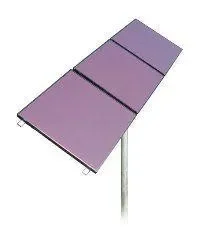
Depending on the surface of the solar module, its location, and its exposure, several solutions are possible, from direct roof installation with rails and corner brackets to ground-mounted supports or wall-mounted brackets, not forgetting solar trackers capable of following the sun with the solar module to optimize its efficiency.
3) Choice of charge controller:
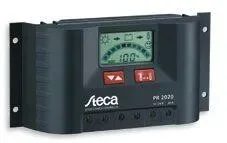
The solar regulator (also called charge controller or charge regulator) regulates the level of energy stored by the batteries to avoid overcharging or deep discharges of the batteries:
– it limits, and can even stop, the charging of the solar battery by the solar module when the battery is fully charged
– it slows down the discharge by load shedding of the usage, and even total shutdown, to avoid deep discharges that could damage the batteries.
Some regulation systems dynamically vary the output charge from the solar panel to optimize the power provided by it. These high-efficiency regulators allow for a 15 to 30% efficiency gain. This technology is called MPPT (Maximum Power Point Tracking).

4) Choice of battery(ies):
report of result 1) a)

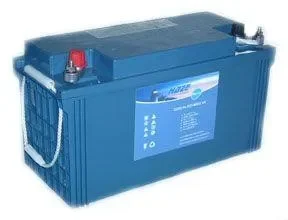
Calculation: Divide by the voltage you will use, either 12V for a small or medium installation or 24V for a large installation, then multiply by 2. Then to determine the number of batteries, see the procedure in our example below.
Let's take our example again:
Daily consumption = 880Wh/day
On a 12V battery, you will consume over one day: 880 / 12 = 73.33 Amperes / day
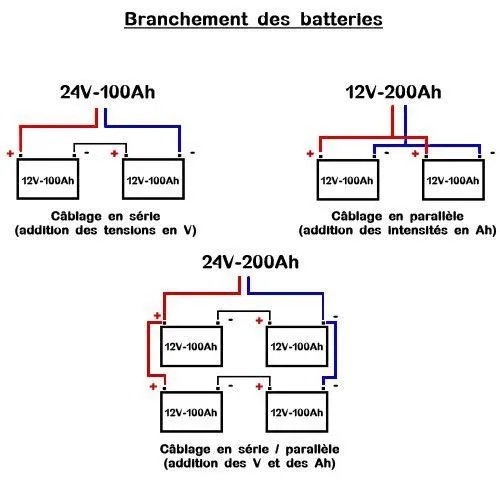
Knowing that you should not discharge a battery more than 50% of its capacity, you will need to choose in this case a battery: 73.33 / 0.5 = 146 Ah minimum, or 2 batteries of 85Ah connected in parallel.
In 24V (2 batteries in series: connecting the + with the -) we would have obtained half 880/24 = 36.6 Amperes / day. Therefore, you would need to choose in this case batteries of 73 Ah minimum, or 2 batteries of 85Ah.
You now better understand that it is necessary, in the case where you have many devices operating, to work in 24V.
Important advice: It is better to oversize (by 15 to 20%) the capacity of your batteries than the opposite.
Note: if you connect batteries in series the voltages (V) add up, if you connect them in parallel it is the currents (Ah) that add up.
5) Choice of current / Converter (inverter):
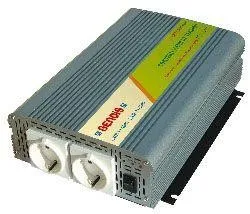
At this stage your installation will only provide you with direct current in 12V or 24V depending on whether you install your batteries in parallel or in series.
If you want alternating current 220/230V, you will need to add a converter (inverter) at the battery output.

6) Choice of cable section:
To choose the cables suitable for your installation, please consult the corresponding table by clicking on the link below.
Calculation of electrical cable section